
Welcome to the comprehensive guide on unlocking the digital world with step-by-step instructions on “How to Create an Account on DigiLocker App.” In an era where digitization runs supreme, DigiLocker stands out as a secure platform to store and share your essential documents seamlessly. Whether you’re a tech enthusiast or a newcomer to digital services, this guide will navigate you through the user-friendly process of setting up your DigiLocker account.
About Digilocker
DigiLocker is a revolutionary digital storage platform introduced by the Government of India. With seamless integration, it allows individuals to securely store and access their important documents, certificates, and records in a cloud-based locker. This innovative concept not only offers convenience and accessibility in managing personal documents but also reduces the need for physical copies, promoting a paperless society.
DigiLocker aims to transform the way individuals handle their documents, ensuring privacy, authenticity, and ease of use. DigiLocker ensures that individuals can easily find and make use of this beneficial service. Whether it’s educational certificates, driving licenses, or other important documents, DigiLocker offers a trustworthy, user-friendly, solution to safeguard and retrieve essential records anytime, anywhere. Now the second question is why do we use Digilocker?
Why DigiLocker?
DigiLocker serves as your virtual vault, allowing you to access important documents anytime, anywhere. This cloud-based platform is backed by the government, ensuring the highest standards of security for your document information. From academic certificates to driving licenses, DigiLocker simplifies document management, reducing the need for physical copies.
Step-by-Step Guide

- Download and Install the DigiLocker App.
Begin by visiting your app store, whether it’s the Google Play Store for Android users or the Apple App Store for iOS enthusiasts. Search for “DigiLocker” and download the app.
2. Open the App and Sign Up.

Open the app, and you’ll be impressed with a user-friendly interface. Tap on the “Sign Up” or “Register” button to start the account creation process.
3. Enter Your Mobile Number
Provide your active mobile number, ensuring it’s accessible, as you’ll receive an OTP (One-Time Password) for verification.
4. Verify OTP and Set Password
Once you receive the OTP, enter it into the required field to verify your mobile number. Following this, set a secure password for your DigiLocker account.
5. Fill in Basic Details
Complete your profile by entering basic details such as your name, date of birth, and gender. This information is crucial for customizing your DigiLocker experience.
6. Choose a Security PIN
Enhance the security of your DigiLocker account by setting a unique security PIN. This adds an extra layer of protection to your stored documents.
7. Add an Aadhaar or Mobile Number (Optional Aadhar/mobile)
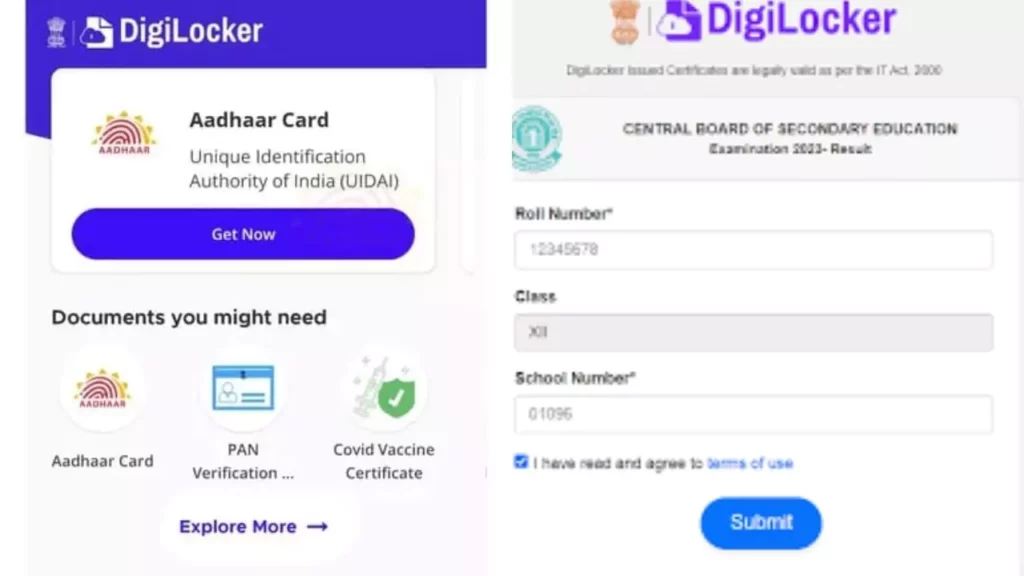
For added convenience, you can link your Aadhaar or mobile number to simplify document allocation and access.
8. Congratulations! Your DigiLocker Account is Ready
Once you’ve completed these steps, you’re all set to explore the digital realm of DigiLocker. Congratulations on successfully creating your account!
9. You can store many documents on the digit locker
- PAN card
- Aadhar card
- Passport
- Voter ID Card
- 10th mark sheet
- 12th mark sheet
- Graduation mark sheet
- Driving license
Conclusion
In conclusion, this guide has walked you through the process of creating a DigiLocker account, empowering you to embrace the future of secure and convenient document storage. Join the digital revolution today and experience the ease of managing your essential documents with DigiLocker.


